Tuesday, October 6, 2015

JPG Compression and File Size


Quality 10: 12 KB 8,852 Bytes


Quality 60: 16 KB 13,651 Bytes 


Q100: 115 KB 113,121 Bytes 


These are my photos with a JPG compression. I used a Cutout Filter on them all and saved them with different qualities. You can see the higher the quality the more space and the better you can see the colors. The less ruined the photo is. 

Raster From Vector


These are my logos after i rasterized them. To do this i went to file menu and clicked open option. In the appeared dialog box, select the image file you want to edit and click on the "Open" button. Then go to the "Layer" menu and click on the layer style option under the rasterize. Then I went to the layer and first I clicked convert to smart object and then I clicked rasterize layer.  


Vector Logos


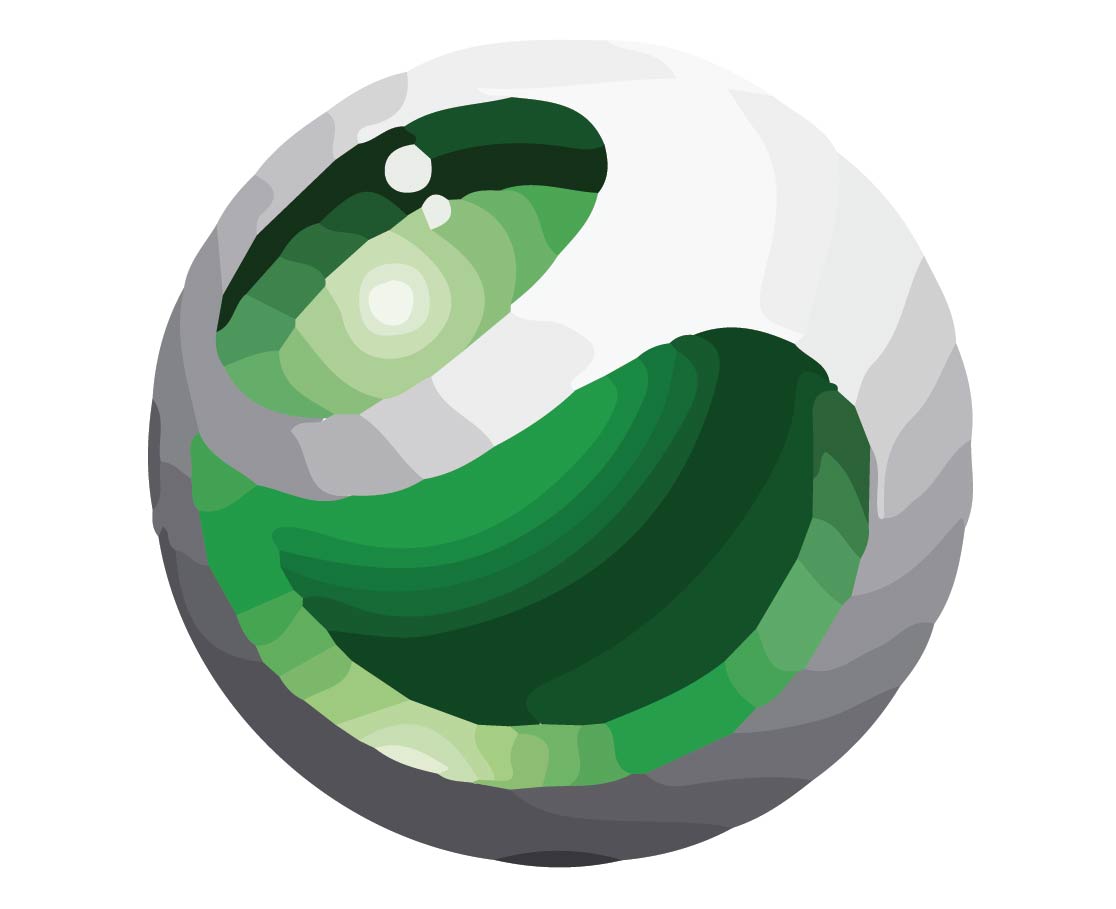
This is my Sony logo. This was hard to change from raster to vector because it started off as a really bad quality picture. I used the low resolution in illustrator to trace it and keep it as close to the original as possible.


This is my batman logo. I traced it using the 16 colors in illustrator. It is pretty much exactly like the original.

Vector Logos From Raster Images

This is my FireFox logo redone and vectorized.
I placed it in illustrator and then traced it with high resolution to keep it as close to the original as possible.


This is my Apple logo after i changed it into a
vectorized image. I placed it in illustrator and used
low fidelity to keep it as close to the original as possible.


Thursday, October 1, 2015

Adobe Illustrator

This is my 16 Colors Selfie. There are 16 colors in this photo.
This is the same picture drawn out with only 2 colors. Black and
white.


This is a line drawing of the same picture. The details have been taken out so you can just see the outlines.


Today I worked in Adobe Illustrator. I had to convert my files from RASTER to VECTOR. I had to trace the images and you can see the different outcomes.


A RASTER Image is made up of pixels and a VECTOR image is made up of paths. Each with  a mathematical formula.


Process 
For this I first opened a selfie in photoshop. I increased the contrast and saturation of the image. I save the file as a PSD. Then i went to adobe illustrator and PLACED the image in there. Dragged so that it was proportional on the page. I clicked the selection tool then hit IMAGE TRACE and messed with different options. The i exported the files so that I could change them to JPG and i changed the color mode to RGB and the resolution to 100ppi

PEN TOOL


                             I made curved lines for this by
                             clicking and holding shift
                       
                                             I used the pen tool to place points
                     
I made a curved line for this and then
clicked on the strokes key so that it could
be a dashed line. Then i clicked on which                                            Clicked one point & then the
arrow head that I wanted.                                                                    other. Click Strokes. Click arrow.                                                                                                            
                     
To make this arrow I made a curved line and then clicked the
 stroke and placed the arrow head at the start of the 
line

SHAPES- Adobe Illustrator


This is my shapes project. Basically all I had to do was use Adobe Illustrator to create different shapes.

Tools Used:

  • Rectangle Tool 
This was used to make the rectangle and square. To make a perfect SQUARE you hold down the SHIFT key

  • Rounded Rectangle Tool
Used to make rounded rectangles. 
  • Ellipse Tool: 
This is used to make and elliptical and circle. To make a perfect CIRCLE hold down SHIFT key
  • Polygonal Tool 
Makes polygons. If you CLICK on it after you put it on the page you can decide how many sides you want it to have. I used it to make a triangle and hexagon
  • Star Tool 
Makes stars. After you place it on the page, CLICK on it and decide how many sides you want it to have. I made a 5 point star and a 6 point star
  • Flare Tool 
Used to make a flare shape. This has a lot of different things to it. When you make it there are a lot of rays that come off of it.  You can rotate it, make it bigger or smaller, add different layers to it. ETC